Chapter 05
The Dream Editor
The Dream Editor is one window. The timeline fills it. Panels sit around the timeline and stay out of its way.
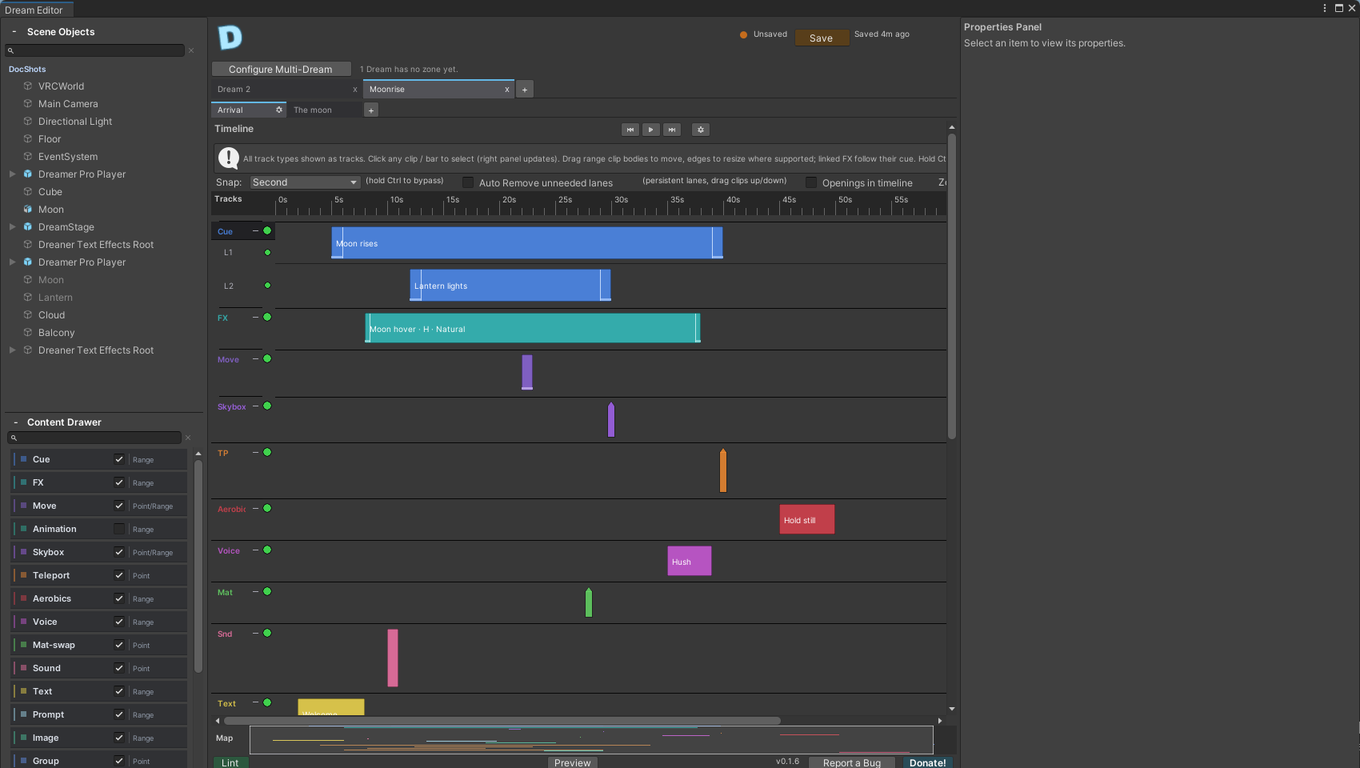
Around the timeline#
- Dream tabs, along the top. One tab per Dream in the scene. The "+" adds a Dream. A tab reads Dream 1, Dream 2 and so on until you rename the Dream's player object in the Hierarchy. Rename it and the tab follows. The cog on the Timeline bar, beside the play buttons, opens the Dream's settings in the Properties panel.

- Slide tabs, under the Dream tabs, when the Dream is a slideshow. See the Slideshows chapter.

- The ruler, with the playhead. The ruler stays in view when you scroll down a tall timeline. When a video has been fetched, its waveform draws under the ruler.

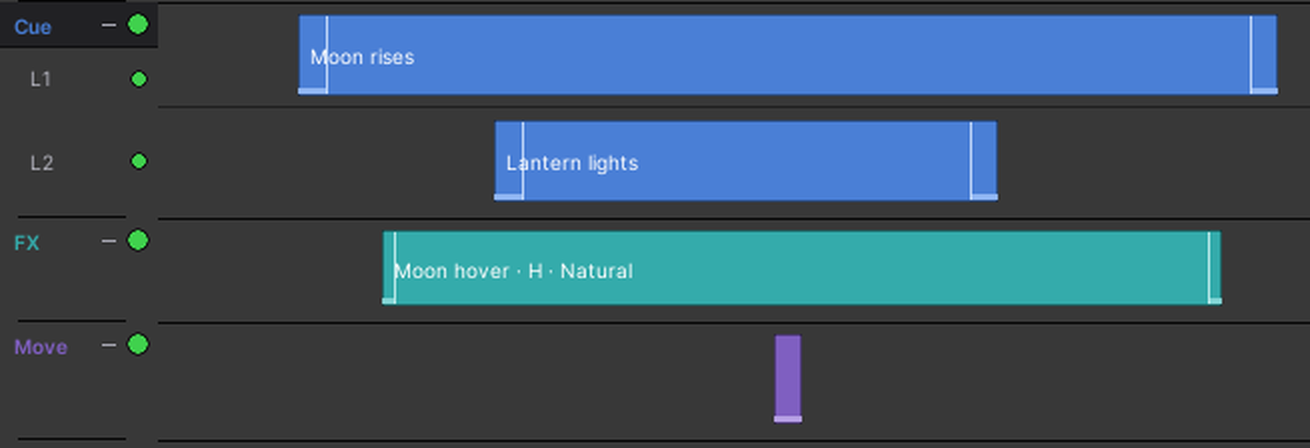
- Tracks and lanes. Every kind of node has a track. A track can have several lanes, so nodes can overlap in time without sitting on top of each other.
- The minimap, a small picture of the whole timeline. Click or drag it to move the view.

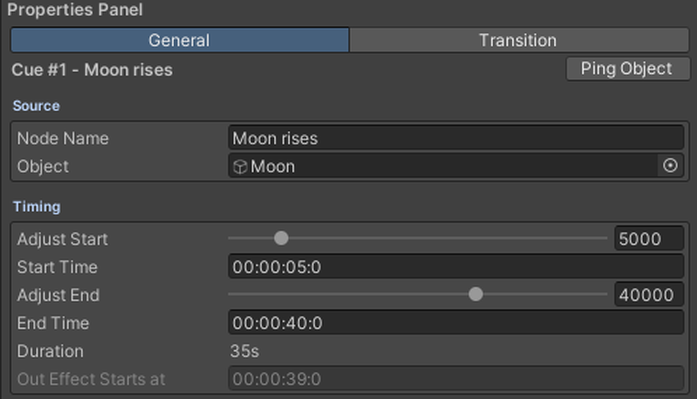
- The Properties panel, on the right. It shows the selected node's settings. The cog on the Timeline bar swaps it for the Dream's own pages: Video, Player, Opening and Preview.
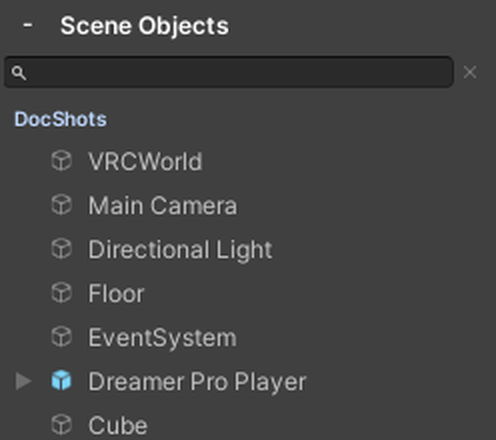
- The Scene Objects list, on the left. Every object in the scene. Right-click one for Ping, which flashes it in the Scene view, and Select. A pin keeps it at the top.
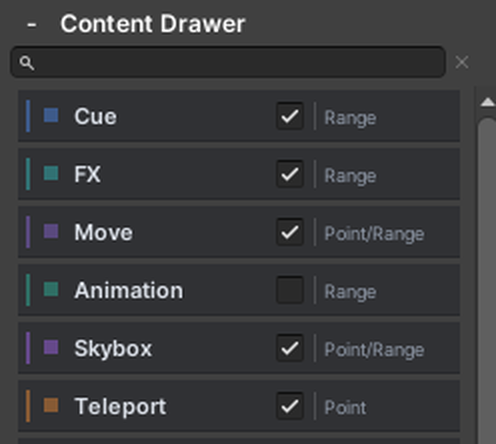
- The Content Drawer. Tiles for the things you can add, with a checkbox per track and a Point or Range hint. Search above the tiles to narrow the list. Drag a tile onto the timeline and it lands on its own track at that time.
- The footer. Lint, the Preview switch with its time, the version number, Report a Bug, and Donate!

Which tracks show#
A new Dream shows three tracks: Cue, FX and Move. The other tracks are turned off until you need them. Turn one on with its checkbox in the Content Drawer. A track also appears the moment you add its first node. Cue and FX share one switch: turning either off turns off both.
Adding nodes#
- Right-click a track at a time and choose the Add item. It names the track and the time you clicked, like "Add Cue at 00:00:12:0". The node lands where you clicked.
- Drag a tile from the Content Drawer onto the timeline.
- Drag an animation clip from the Project window onto the timeline. It lands on the Animation track and turns that track on if it was off. Select a scene object first and the node takes it as its target.
- Duplicate a node with Ctrl+D. One node duplicates in place. Several selected land one second later, as does the right-click Duplicate.
- Copy, cut and paste work for any node and any selection. See Copy and paste below.
Moving and resizing#
- Drag a node's body to move it in time.
- Drag its right edge to change its length. Drag its left edge to change where it starts. Move and Sound nodes have no left edge. A linked FX has neither, and nor does a Sound node with no clip in it yet. On a Presence node and on an Animation node the left edge moves the In point with it, so the frame under the edge stays put.
- Very short nodes only offer the right edge.
- Drag a node up or down to move it to another lane. Alt+Up and Alt+Down do the same for the selection.
- A Move node with smoothing on shows dividers inside it. Drag them to set the start and return durations. A node with no smoothing has none.
- Escape cancels a drag.

Overruled nodes#
When two nodes on one track want the same thing at the same time, Dreamer Pro picks one, by the rules in the Tracks chapter. The timeline shows the loser: a node that never plays for that stretch dims and carries a hatch over the lost span, and a node that still plays for some viewers stays bright with a lighter hatch. Hover it and the tooltip names the winner, the span and the reason, in the same words the Properties panel, the node's menu and Lint use. Presence nodes are never hatched, because a performer stays on stage.
Selecting#
Click a node. Shift-click adds to the selection. Ctrl-click toggles one. Drag on empty track space to draw a box around several. Ctrl+A selects every node on the slide you are editing.
Copy and paste#
- Ctrl+C copies the selected nodes. Ctrl+X cuts them: nothing moves until you paste. Escape cancels a cut.
- Ctrl+V pastes a copy onto the slide you are editing. To finish a cut, right-click the time you want and choose Paste. Ctrl+V finishes a cut only when you have moved to another slide. The clipboard belongs to one Dream: copy in one and paste in another and Dreamer Pro says so, then forgets them. On another slide the copied times are kept. On the same slide the copies land after the originals.
- Right-click a clip or empty track space and choose Paste to paste at that time instead.
- Copy a prompt together with a node that depends on its answer, and the copies depend on each other, not on the originals.
- Pasted nodes keep their lanes where those lanes are free.
Splitting#
Put the playhead inside a Cue, an FX or a Presence node and press S, or right-click and choose "Split at playhead (S)". The node becomes two. A Presence node's second half starts its recording where the first left off.
The node menu#
Right-click a node for: Mute or Unmute, Link or Unlink FX, move up or down a lane, Make Conditional or Remove Condition, Cut, Copy, Paste, Delete, Duplicate, and Split at playhead.
Mute and Mute Lane are for working in the editor. A muted node turns grey on the timeline, but it still plays in the preview and in the world. Mutes are cleared when you switch slides or Dreams.
The lane menu#
Right-click a track's name for: Mute All Lanes, Add Lane, and the lane condition items. Right-click a lane's label, on a track with two or more lanes, for: Mute Lane, Delete Lane, and the lane condition items. Four lane condition items appear on both menus: Make this lane conditional, Lane condition settings..., Apply lane condition, Remove lane condition. Apply lane condition then asks which nodes to touch. Unconditioned nodes leaves the rest alone. ALL nodes overwrites what is already there.
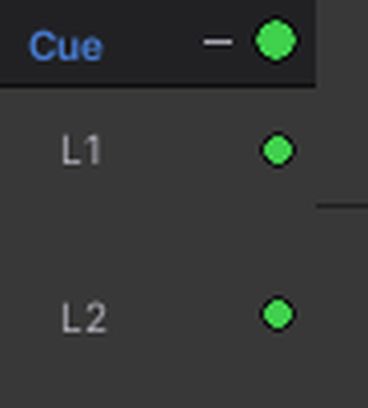
Click the arrow beside a track's name to collapse it. The dot beside the name is green when the track is active, red when it is muted, and grey when it is empty.
"Auto Remove unneeded lanes" in the timeline's header clears empty lanes for you. While it is on, Add Lane, lane conditions and moving nodes between lanes are off. Drag a lane's bottom edge to change its height. Double-click the edge to reset it.
Conditions#
Any node can be made conditional. Open its Condition section in the Properties panel. A condition is a way the node can happen, made of one or more requirements:
- A viewer's VRChat name, matched exactly, including capitals.
- A viewer's answer to a Prompt node.
"Also require" adds a requirement to the same way. "Add another way this can happen" adds a second way; the node plays for a viewer who matches any one way.
A conditional node plays only for viewers who match. Everyone else sees nothing from it. A lane can hold a condition as a default: new nodes dropped on it pick it up. For nodes already there, use Apply lane condition. Until you do, they play for everyone.
Markers#
Right-click the ruler and choose "Add marker here..." to place a marker and name it. Press M to drop one at the left edge of the view, named M1, M2 and so on. A marker is a line down the timeline for your own reference. Right-click a marker to delete it.
Zoom and snapping#
- Ctrl and the mouse wheel zoom the timeline. The header shows the zoom and a Reset button.
- The snap menu in the header offers Off, Frame, Second, Five Seconds and Clip Edge. Hold Ctrl or Shift while dragging to ignore snapping.

Keyboard shortcuts#
These work whenever the editor window has focus, you are not typing in a field, and no settings page is open. Select a node to close a settings page and get them back.
- Ctrl+C, Ctrl+X, Ctrl+V: copy, cut, paste.
- Ctrl+D: duplicate.
- Delete: remove the selection. Backspace does not, so it stays free for typing.
- Left and Right arrows: nudge the start time by 0.1 seconds. Hold Shift for 1 second.
- Alt+Up, Alt+Down: move to another lane.
- Ctrl+A: select everything on the slide you are editing.
- S: split at the playhead.
- M: add a marker at the left edge of the view, or at the playhead in Play mode.
- Space: play and pause the preview.
- Escape: cancel a drag or a cut.
Undo#
Every gesture is one undo step. Ctrl+Z undoes it, and Ctrl+Y brings it back. The two curled arrows at the top of the window, before the Save button, do the same: the left one undoes, the right one redoes. They walk Unity's own undo list, so a scene edit made after a Dream edit steps back first.

Lint#
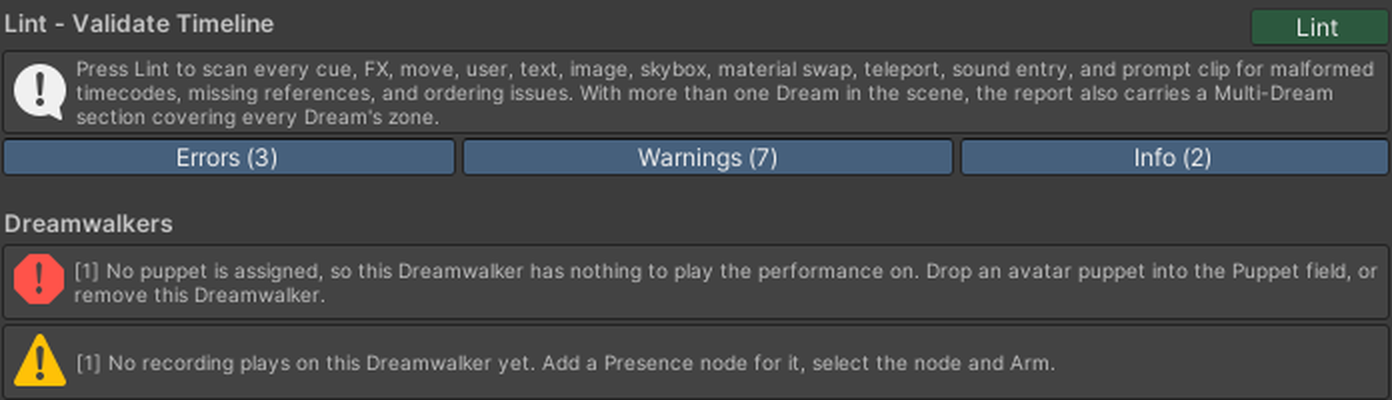
Press Lint in the footer. A window lists everything Dreamer Pro found, filtered by Errors, Warnings and Info.
- Errors would stop something from playing, and they stop an upload.
- Warnings are things that will play but may not be what you meant.
- Info tells you how an overlap was decided, naming the winner and the deciding rule in the same words as the timeline, with what to do about it. Overlapping Camera shots and Guidance cues are reported too.
Lint checks every track: missing objects and clips, timings past the end, malformed times, nodes fighting for the same object, a gate nobody can open, a slideshow slide that never ends, and more. In a slideshow it checks each slide on its own.
Preview#
The Preview switch in the footer turns the preview on and off in the Scene view. Press Play above the timeline, or Space, to play it. The buttons either side of Play jump to the start and to the end. Drag the playhead to scrub.

- Preview shows cues, effects, moves, teleports, material swaps, skybox changes, text, images, prompts, sounds, the video picture, and Dreamwalkers with their recordings and faces. It does not show a Vision FX fade or a Guidance node.
- A viewer rig stands in for the viewer. Drag it around the scene to see what a viewer in that spot would see.
- In a slideshow the preview plays the slide you are editing.
- Animation nodes preview from the source clip in Unity. The world plays baked animation data, which the Building chapter explains.
- A Local Dream's video cannot play in Unity's Play mode. Test it in VRChat.
Time format#
Every time you type in Dreamer Pro reads HH:MM:SS:F or HH:MM:SS:fff. Times it shows you are written differently: the ruler reads 5s, 10s and then 1:05, and the preview time reads 1:23.456. One digit after the last colon is tenths of a second. Three digits are milliseconds. A time Dreamer Pro cannot read counts as the very start, and Lint flags it.